
How to Login to the Browser Version of the Azumuta App Using an Identifier
What Is an Identifier?
Another possible method to log in to an Azumuta workspace is by using an identifier. An identifier is a personal code that is commonly used to authenticate an Azumuta user, allowing them to log in to an Azumuta workspace.
Identifiers can be used by operators to log in to an Azumuta workspace, be it on the app or the browser version of the app.
In this guide webpage, we will only focus on using an identifier to log in to the browser version of the app. If you want to learn more about using an identifier to log in to the Azumuta app, click here.
An identifier is a convenient login method, especially if your operators don’t have their own individual devices and share them with other operators.
The Setup Process
As an admin, you will first need to set it up. The setup process takes three phases to complete. Here’s an explanation for each phase:
Phase 1: Adding a New Device in Your Workspace
The first phase is to add a new device to your workspace. This is the device that will have its “Sign in with identifier” feature enabled and will be used by your operators. Here’s how to add it:
- Click on “Devices” under “Management”.
- Click on the yellow plus button.
- Under the “Name” field, type in the device’s name.
- Under the “Type” dropdown menu, select the device type that corresponds to the device in the real world (whether it’s a tablet/laptop/desktop computer/smartphone/API device/other device type).
- For the other device settings, you can configure them later.
- Click on “Add”.
Phase 2: Authenticating the Device
The second phase is to authenticate the new device that was created in phase 1. The steps are as follows:
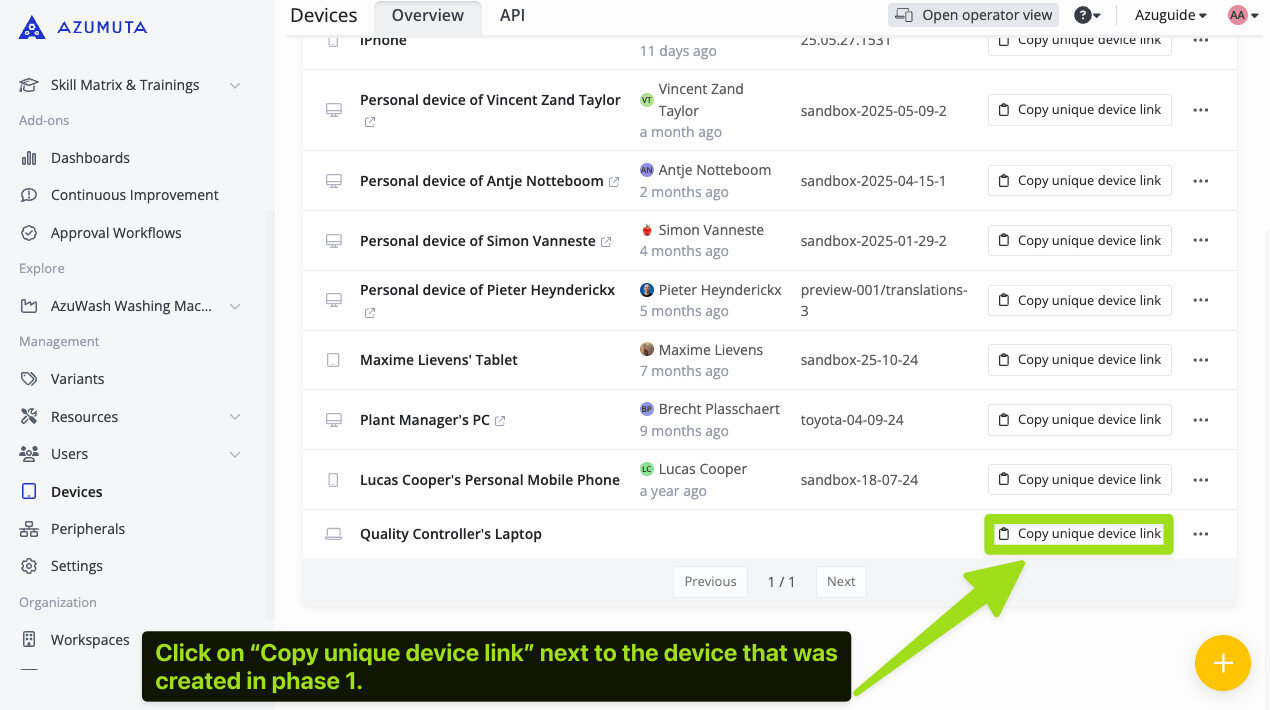
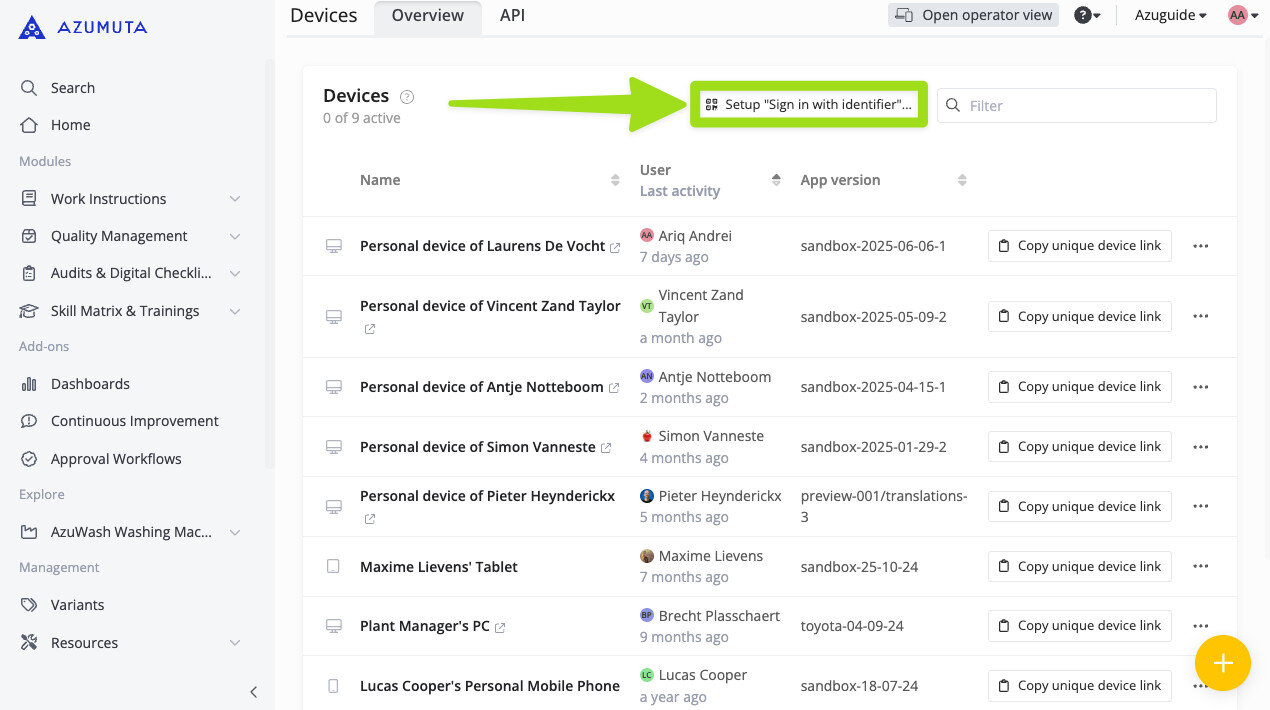
- Click on “Copy unique device link” next to the device that was created in phase 1 for your operators. The unique device link will then be copied into your clipboard.
- Now, using the device that will be used by your operators, open a browser tab.
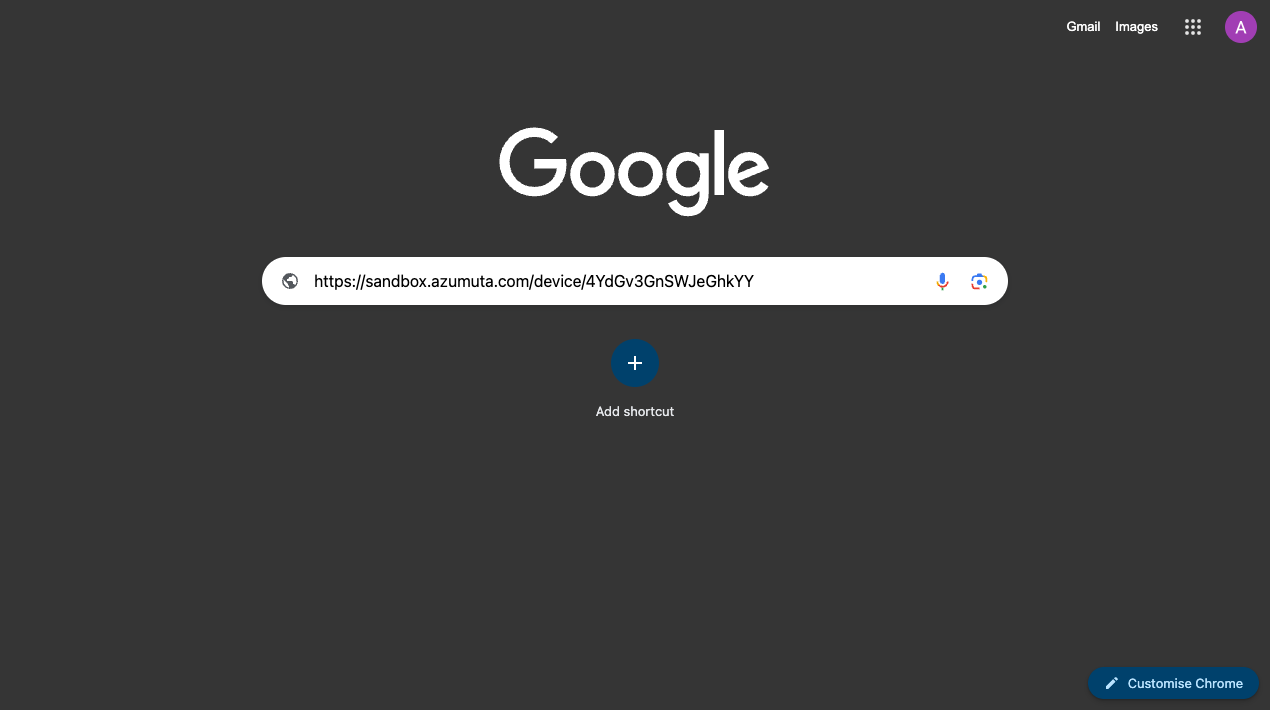
- Paste the link that you’ve copied in step No.1 into the URL bar, and press Enter on your keyboard.
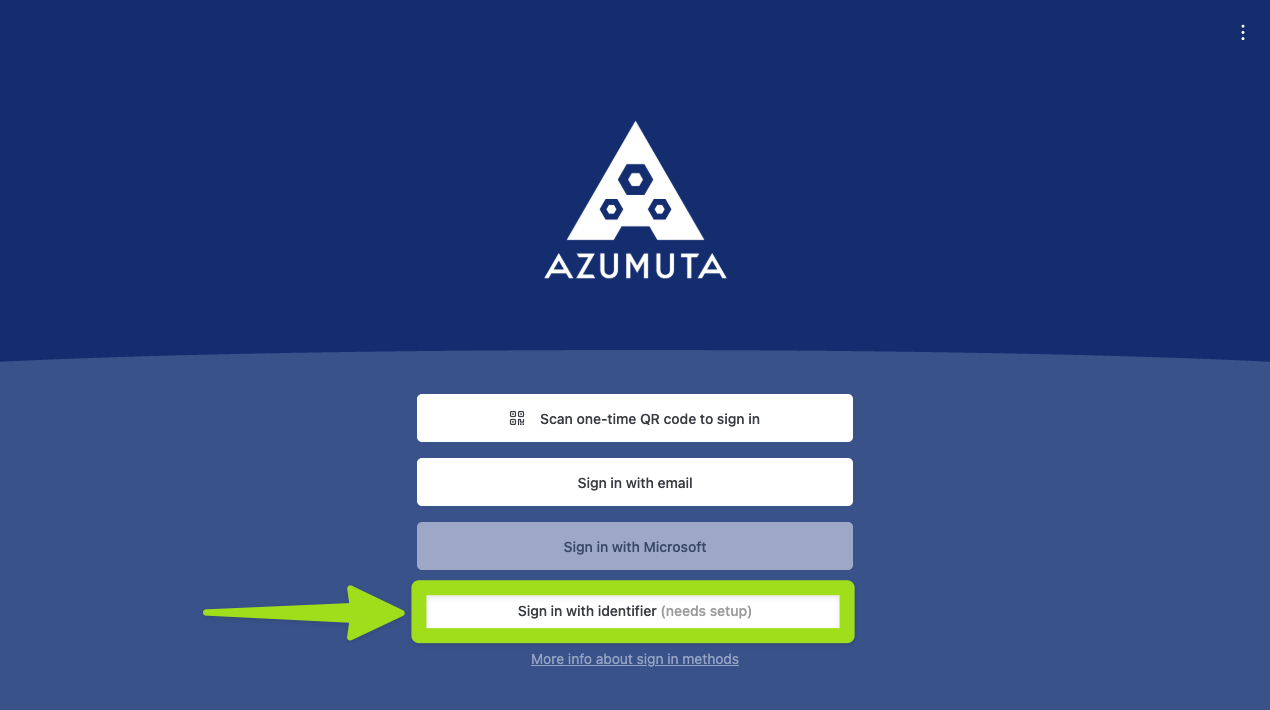
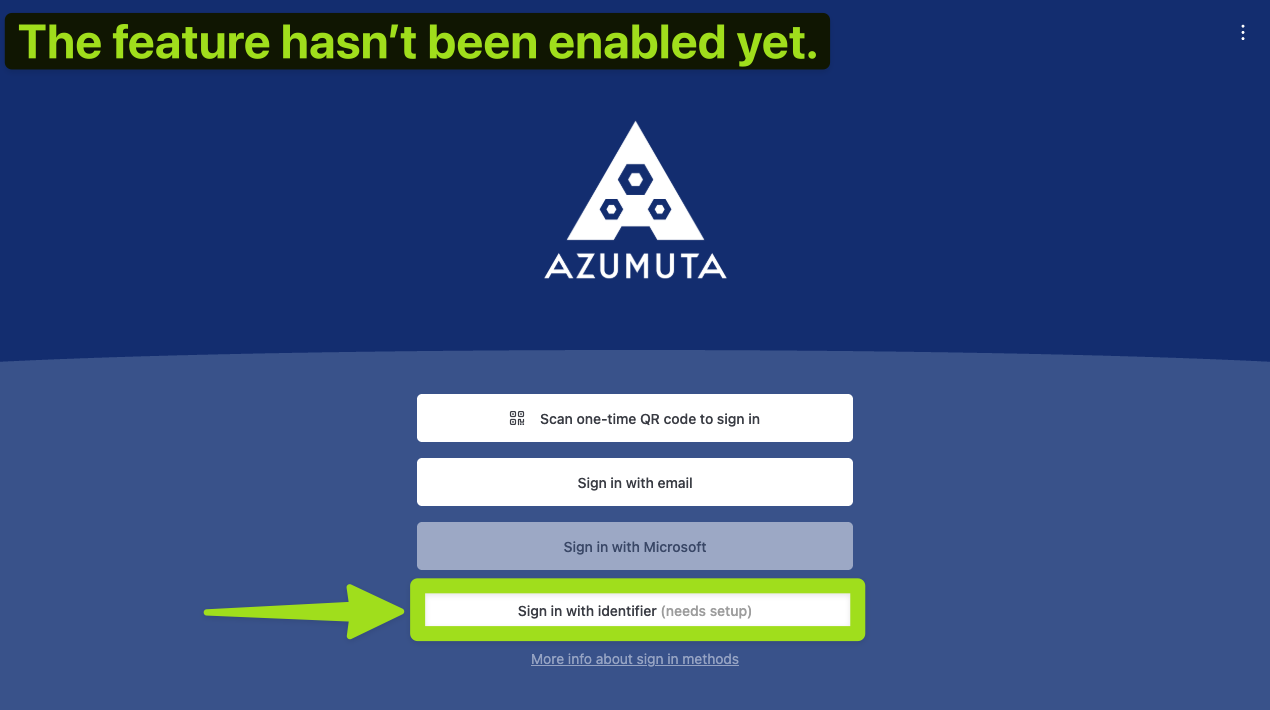
- Click on “Sign in with identifier (needs setup)”.
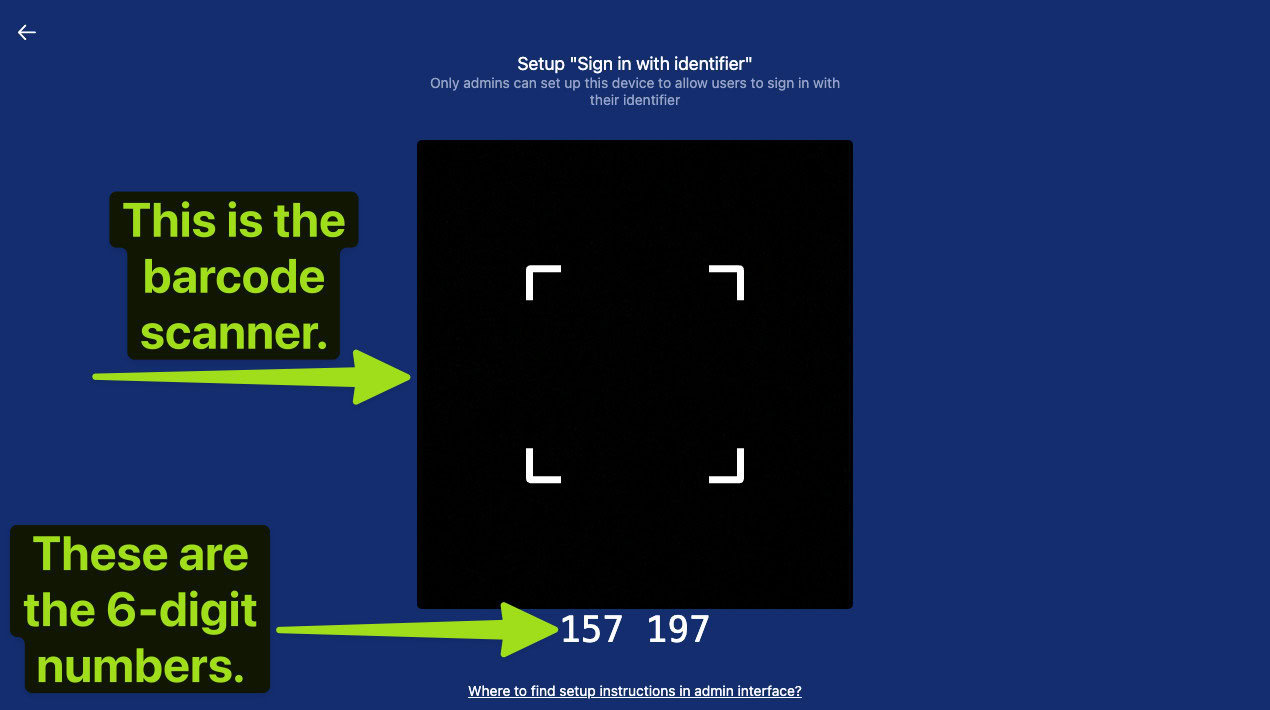
- Afterward, you will see two items: a barcode scanner and a set of 6-digit numbers. You can use any of them for the authentication process of this device (starting from step No.6).
- Now, using the admin’s device, navigate to the menu that displays the list of devices that are linked to your workspace.
- Click on “Setup Sign in with identifier”.
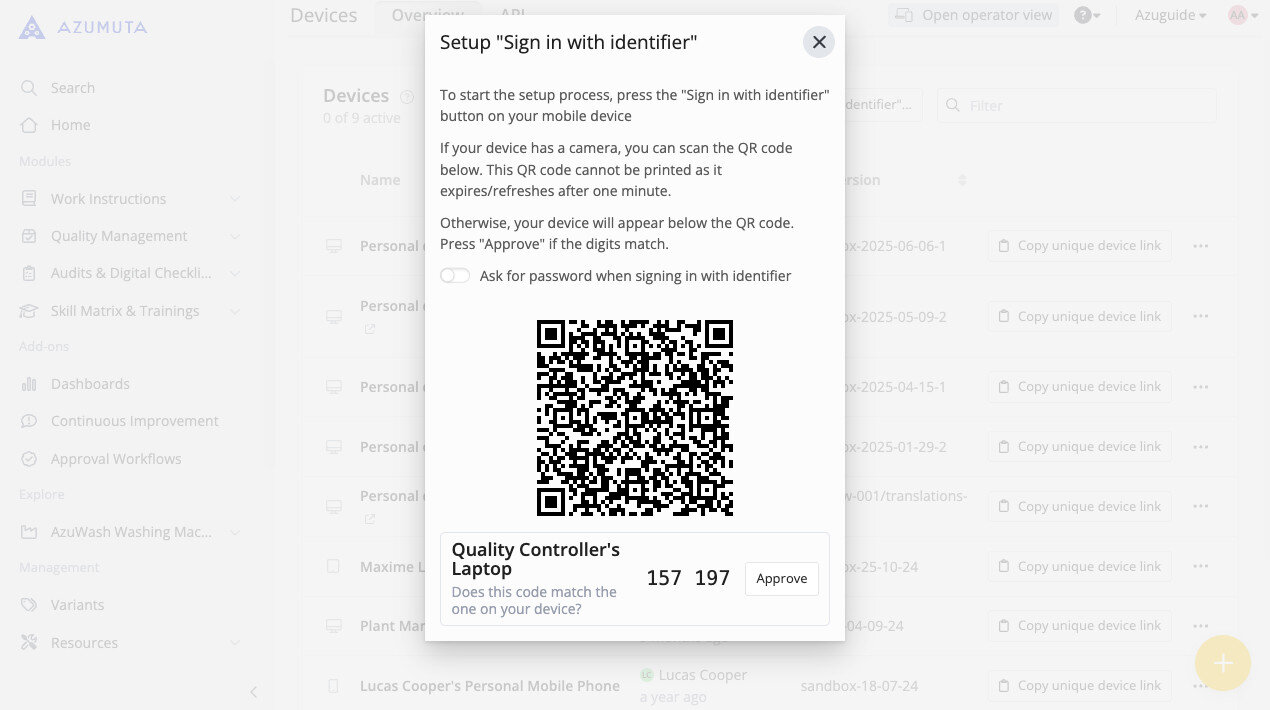
- There are two possible methods to authenticate the device that will be used by your operators. The first method is by scanning the barcode shown in the image below using the device that will be used by your operators (you can only use this method if the device has a camera/barcode scanner). The second method is by clicking on “Approve” next to the six-digit numbers (if you use this method, please ensure that the numbers are exactly the same as the numbers on step No.5). Additionally, if you want the operators using this device to login using their identifier code and their password, you should switch on the “Ask for password when signing in with identifier” toggle, shown in the image below.
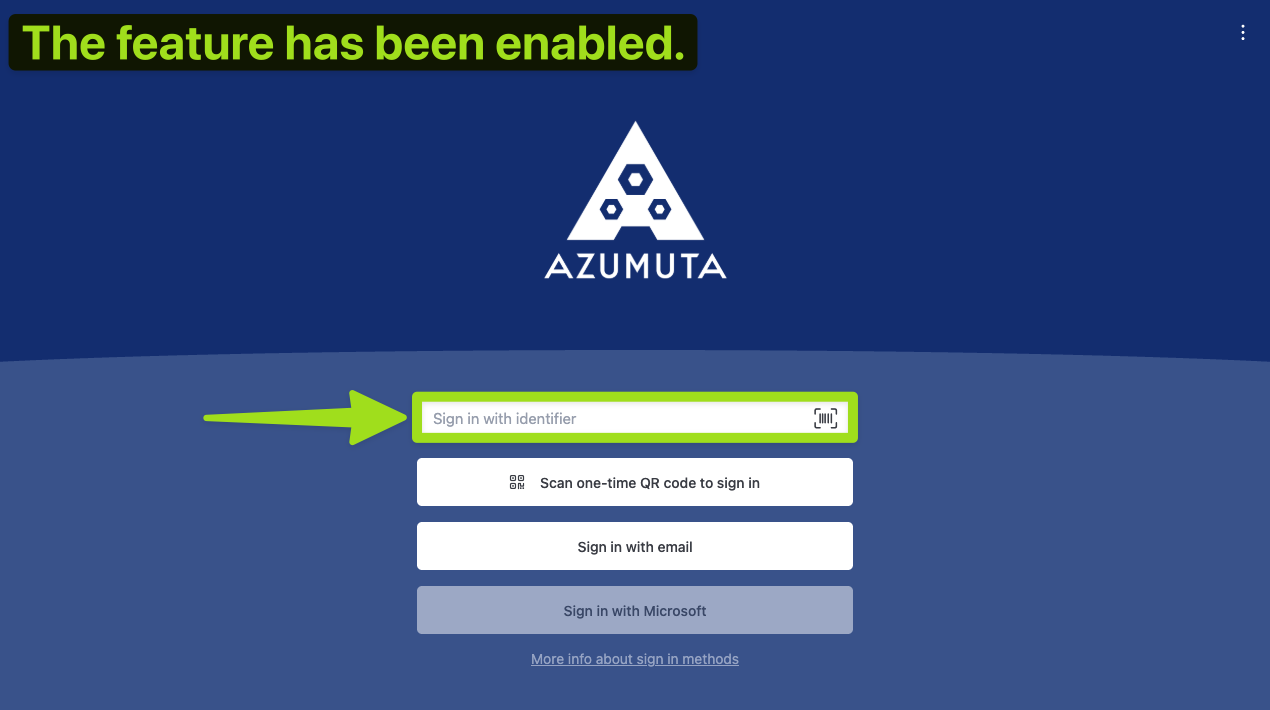
After completing all of the steps above, the “Sign in with identifier” feature will be enabled on this particular device.
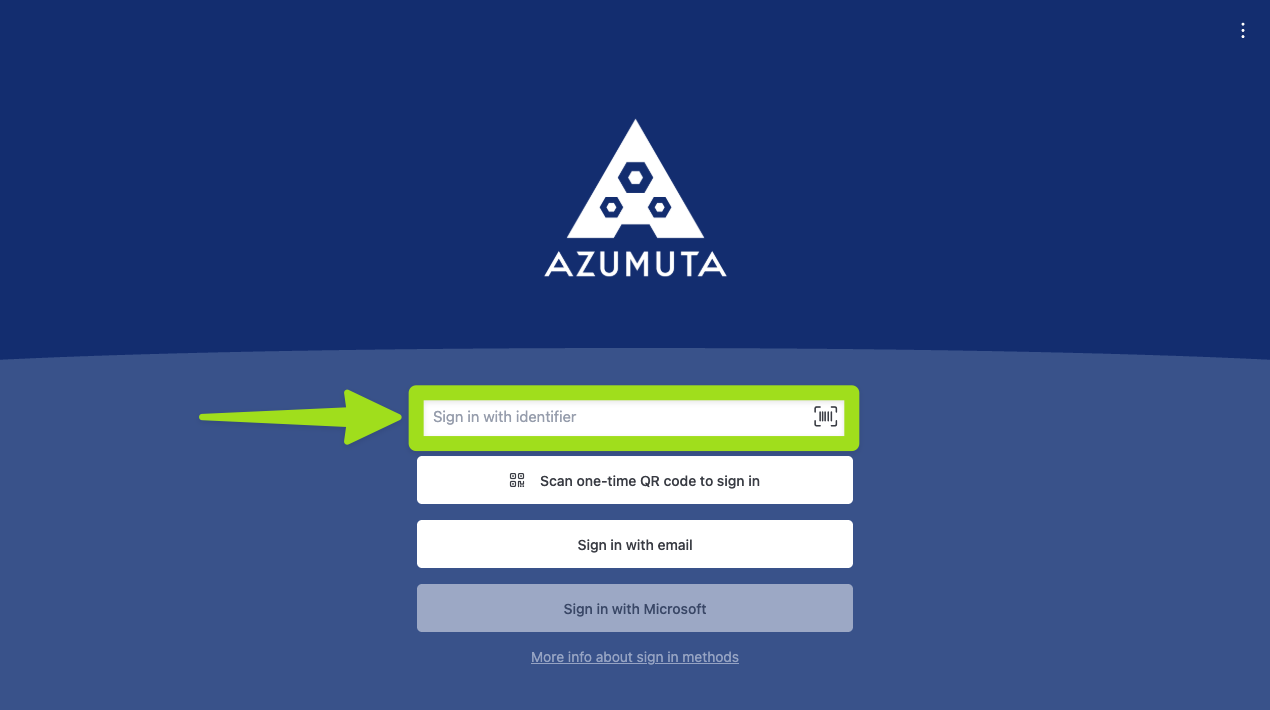
To check whether this feature has been enabled on a device, you can see whether the “needs setup” phrase has disappeared. If it has disappeared and it has been replaced with a text field, then this feature has indeed been enabled. You can see the difference in the two images below:
Please be aware that you only need to perform phase 1 & phase 2 once for each device.
Phase 3: Providing the Identifier Code for Your Operators
The last phase involves providing an identifier code for your operators. The steps below outline how to provide it to an operator:
- Click on “Users” under “Management”.
- Click on the three-dot icon next to an operator’s profile.
- Click on “Edit user”.
- Type in the identifier code under the “Login Identifier” field.
- Click on “Save”.
You only need to do phase 3 once for each operator that will use this feature.
Logging in Using an Identifier as Operators
After you’ve completed the entire setup process, your operators can now log in using their identifier. To log in, your operators simply need to type in the identifier code that was provided in phase 3.
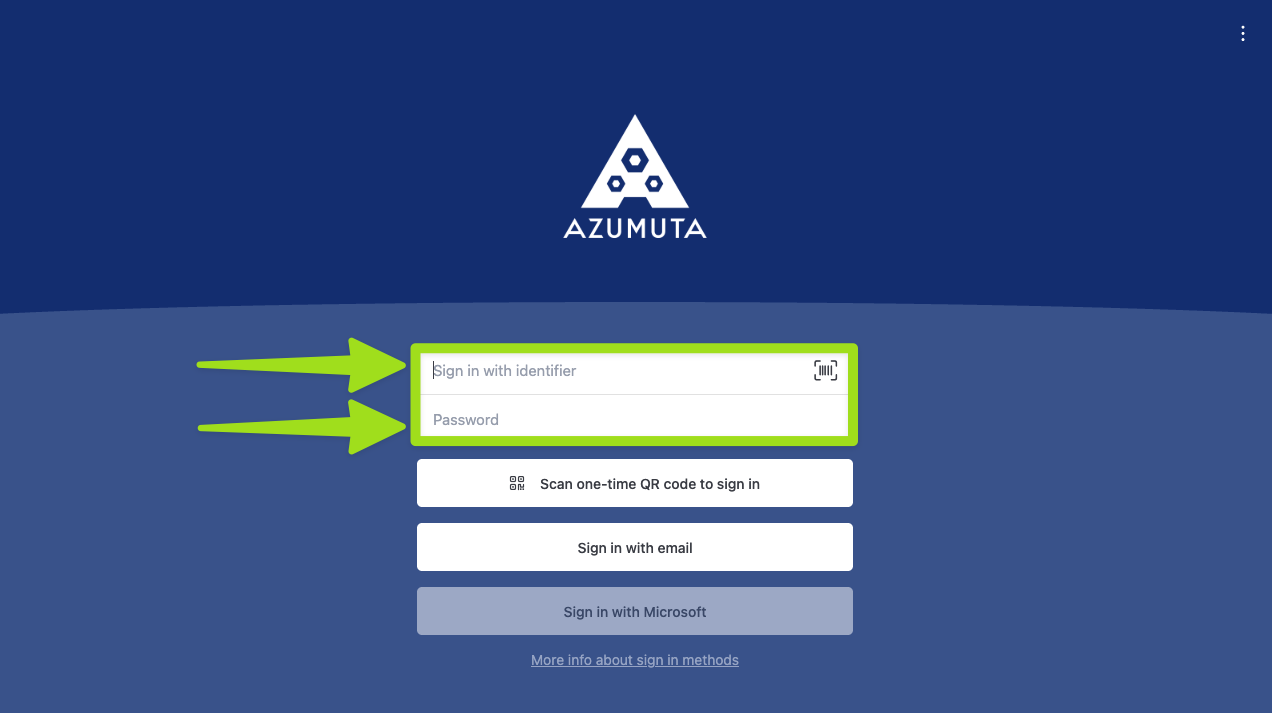
Moreover, if on step No.8 on phase 2, you’ve activated the “Ask for password when signing in with identifier” toggle, then besides the identifier code, your operators will also need to type in their password in order to log in to this device.
How to Remove the Login With an Identifier Option
Would you like to remove the option to log in with an identifier on a device? Then, perform the steps mentioned below:
- Click on “Devices” under “Management”.
- Click on “Copy unique device link” next to the device that contains the “login with identifier” feature that you would like to remove.
- Open that link in another tab.
- Click on the three-dot icon in the top right corner of the screen.
- Click on “Reset “Sign in with identifier””.
- Click on “OK”.