How to Log In to the Azumuta App With an Identifier
What is an identifier?
An identifier is a personal code that authenticates an Azumuta user and lets them log in to a workspace. Operators can use it to log in, either in the app or in the browser version of the app.
This article covers using an identifier to log in to the app. For the browser version, see logging in to the browser version with an identifier.
An identifier is useful when operators share devices instead of having their own.
Set up the identifier login
Phase 1: enable "Sign in with identifier" on the device
You do this once per device. As an admin, you show a QR code that the operator scans to enable the feature.
- Go to Management → Devices, then click Setup "Sign in with identifier".
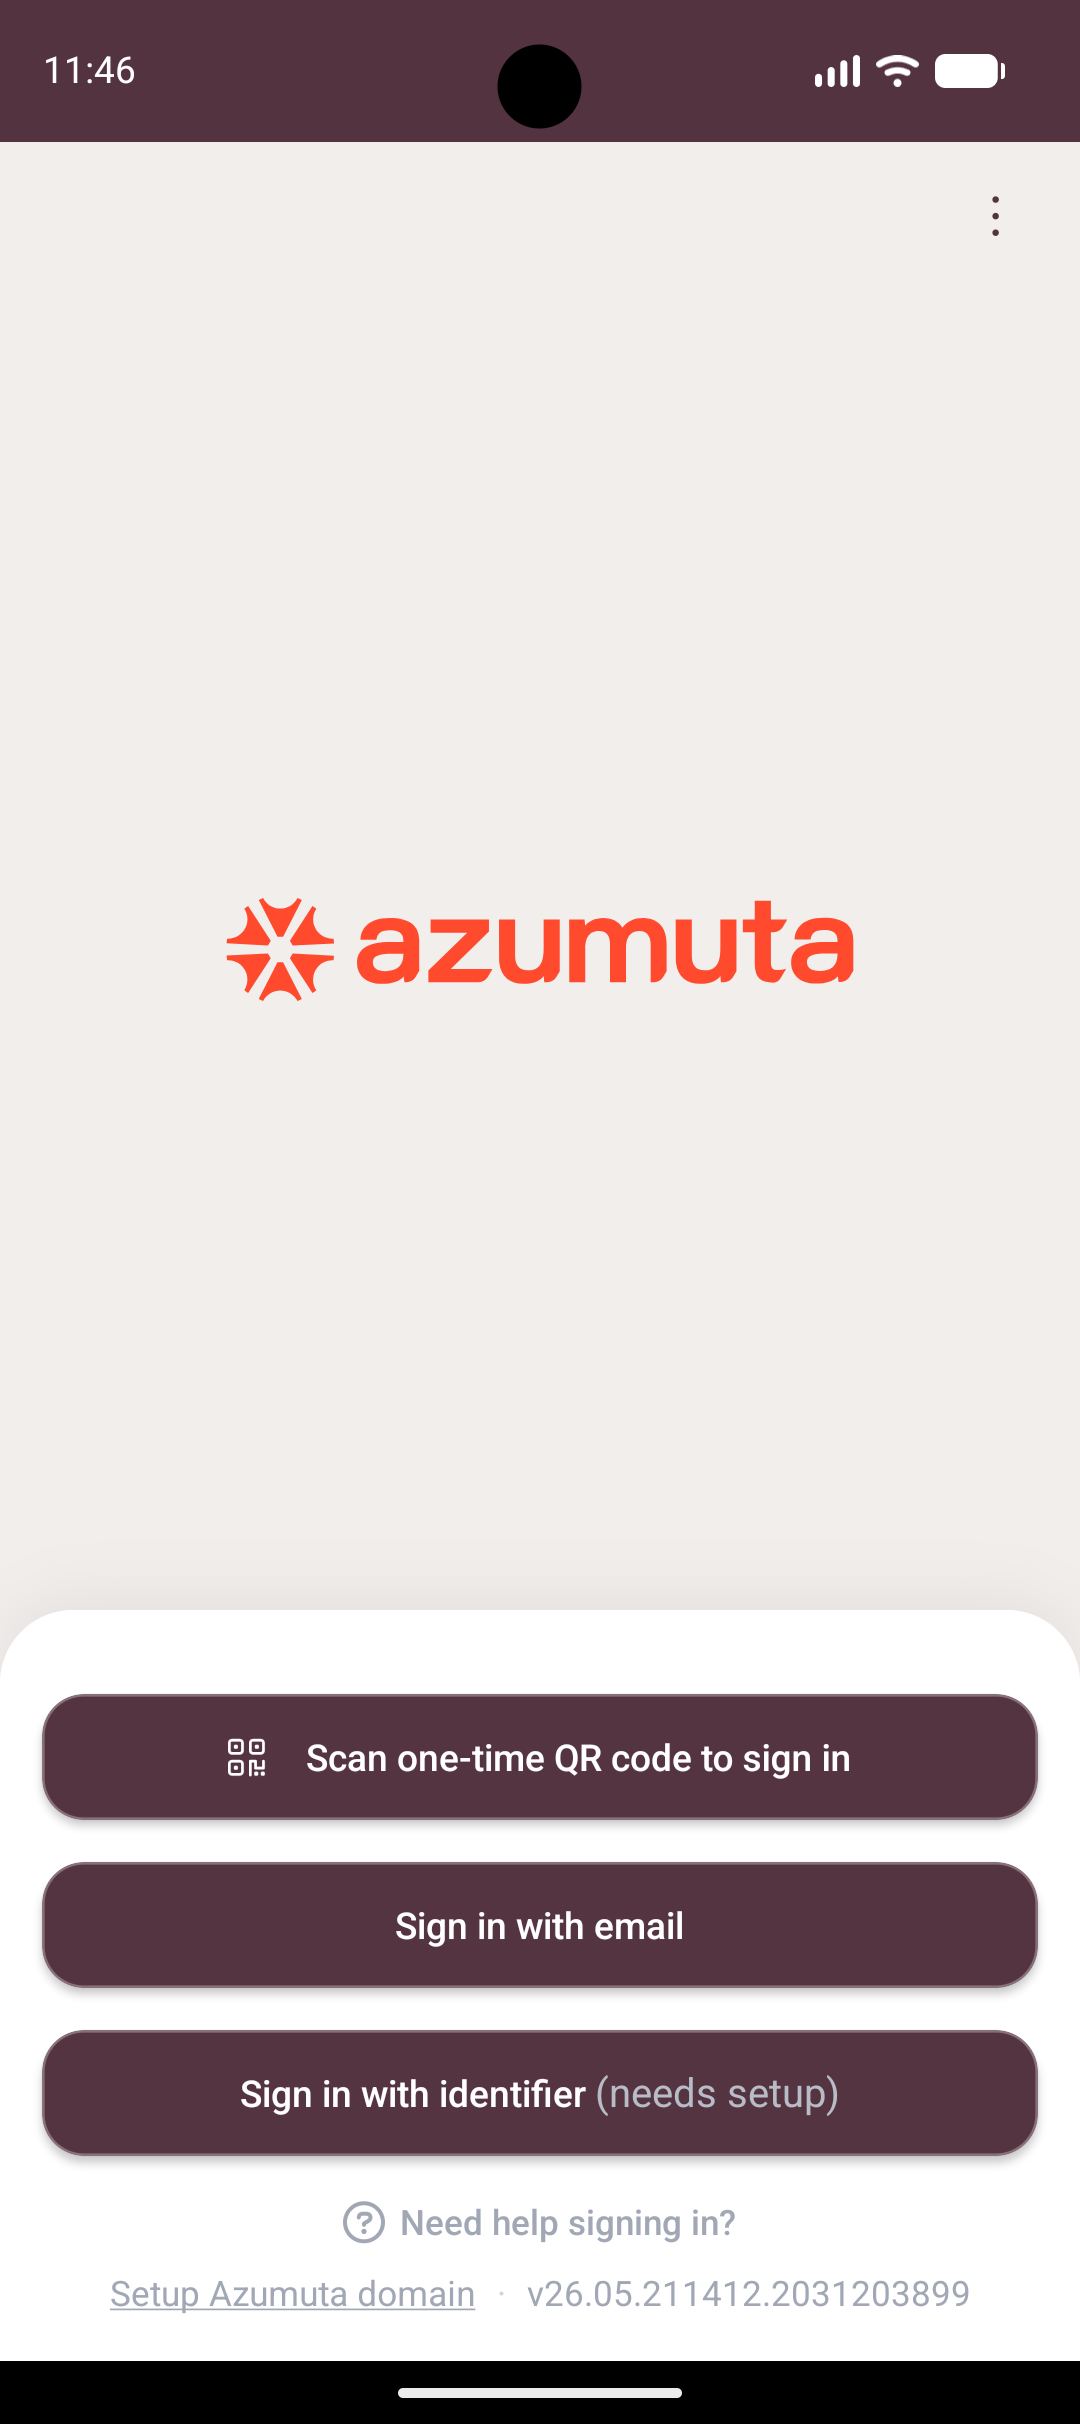
- On the operator's device, on the login page, click Sign in with identifier.
- Have the operator scan your QR code.
The QR code is valid for one minute, then refreshes.
Phase 2: create an identifier code for the operator
You do this once per operator.
- Go to Management → Users → Overview.
- Click the ⋮ (three-dot) icon next to the user, then click Edit user.
- Type the code in the Login identifier field, then click Save.
- Share the code with the operator.
Note: Each operator needs a unique identifier code. Operators cannot share one.
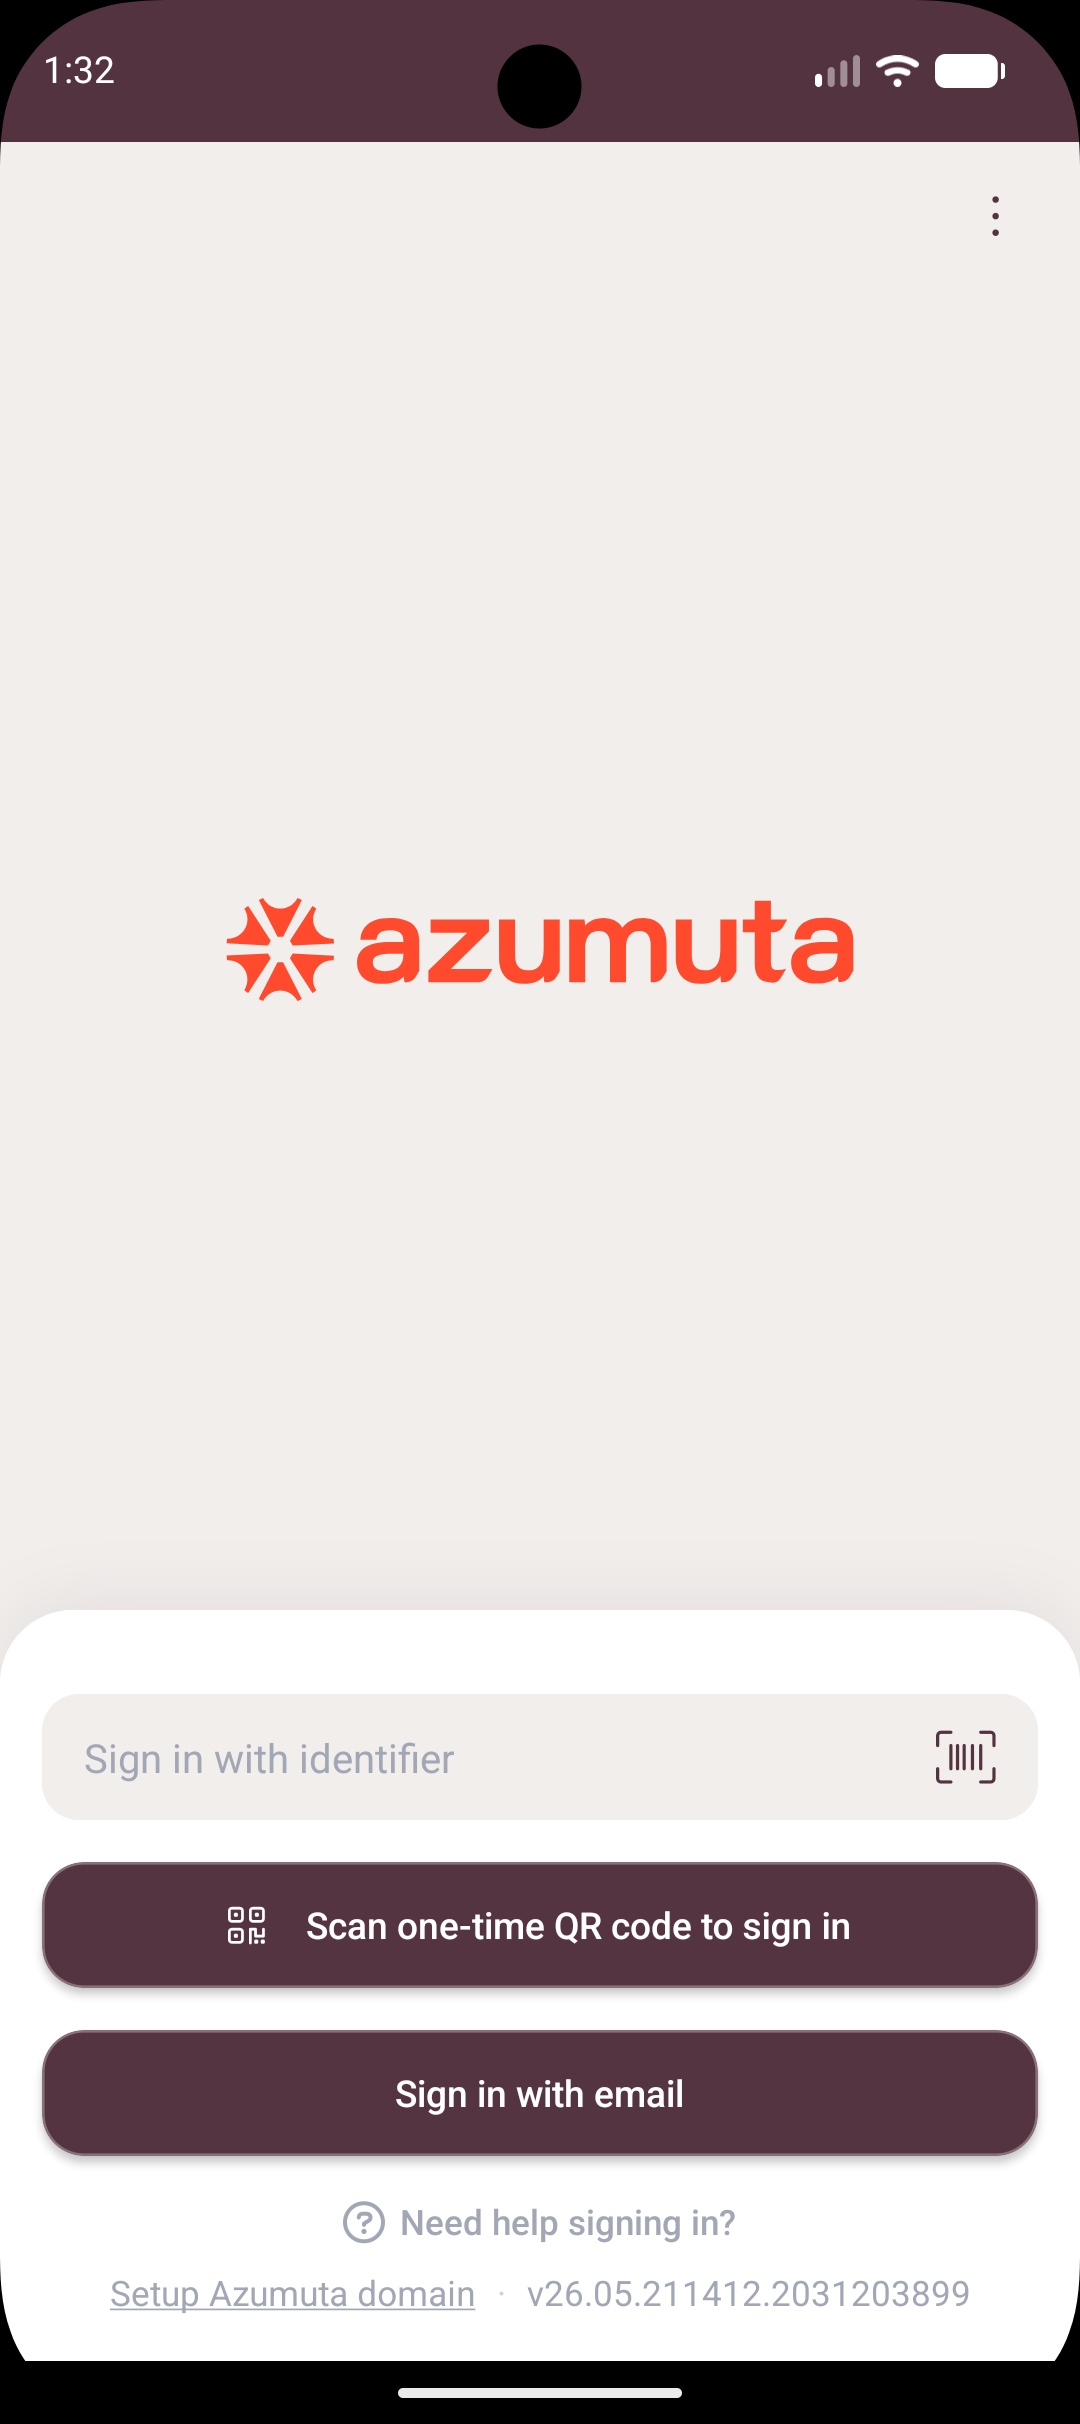
Log in with an identifier as an operator
After setup, the identifier field appears on the operator's login screen. The operator types the code from phase 2.
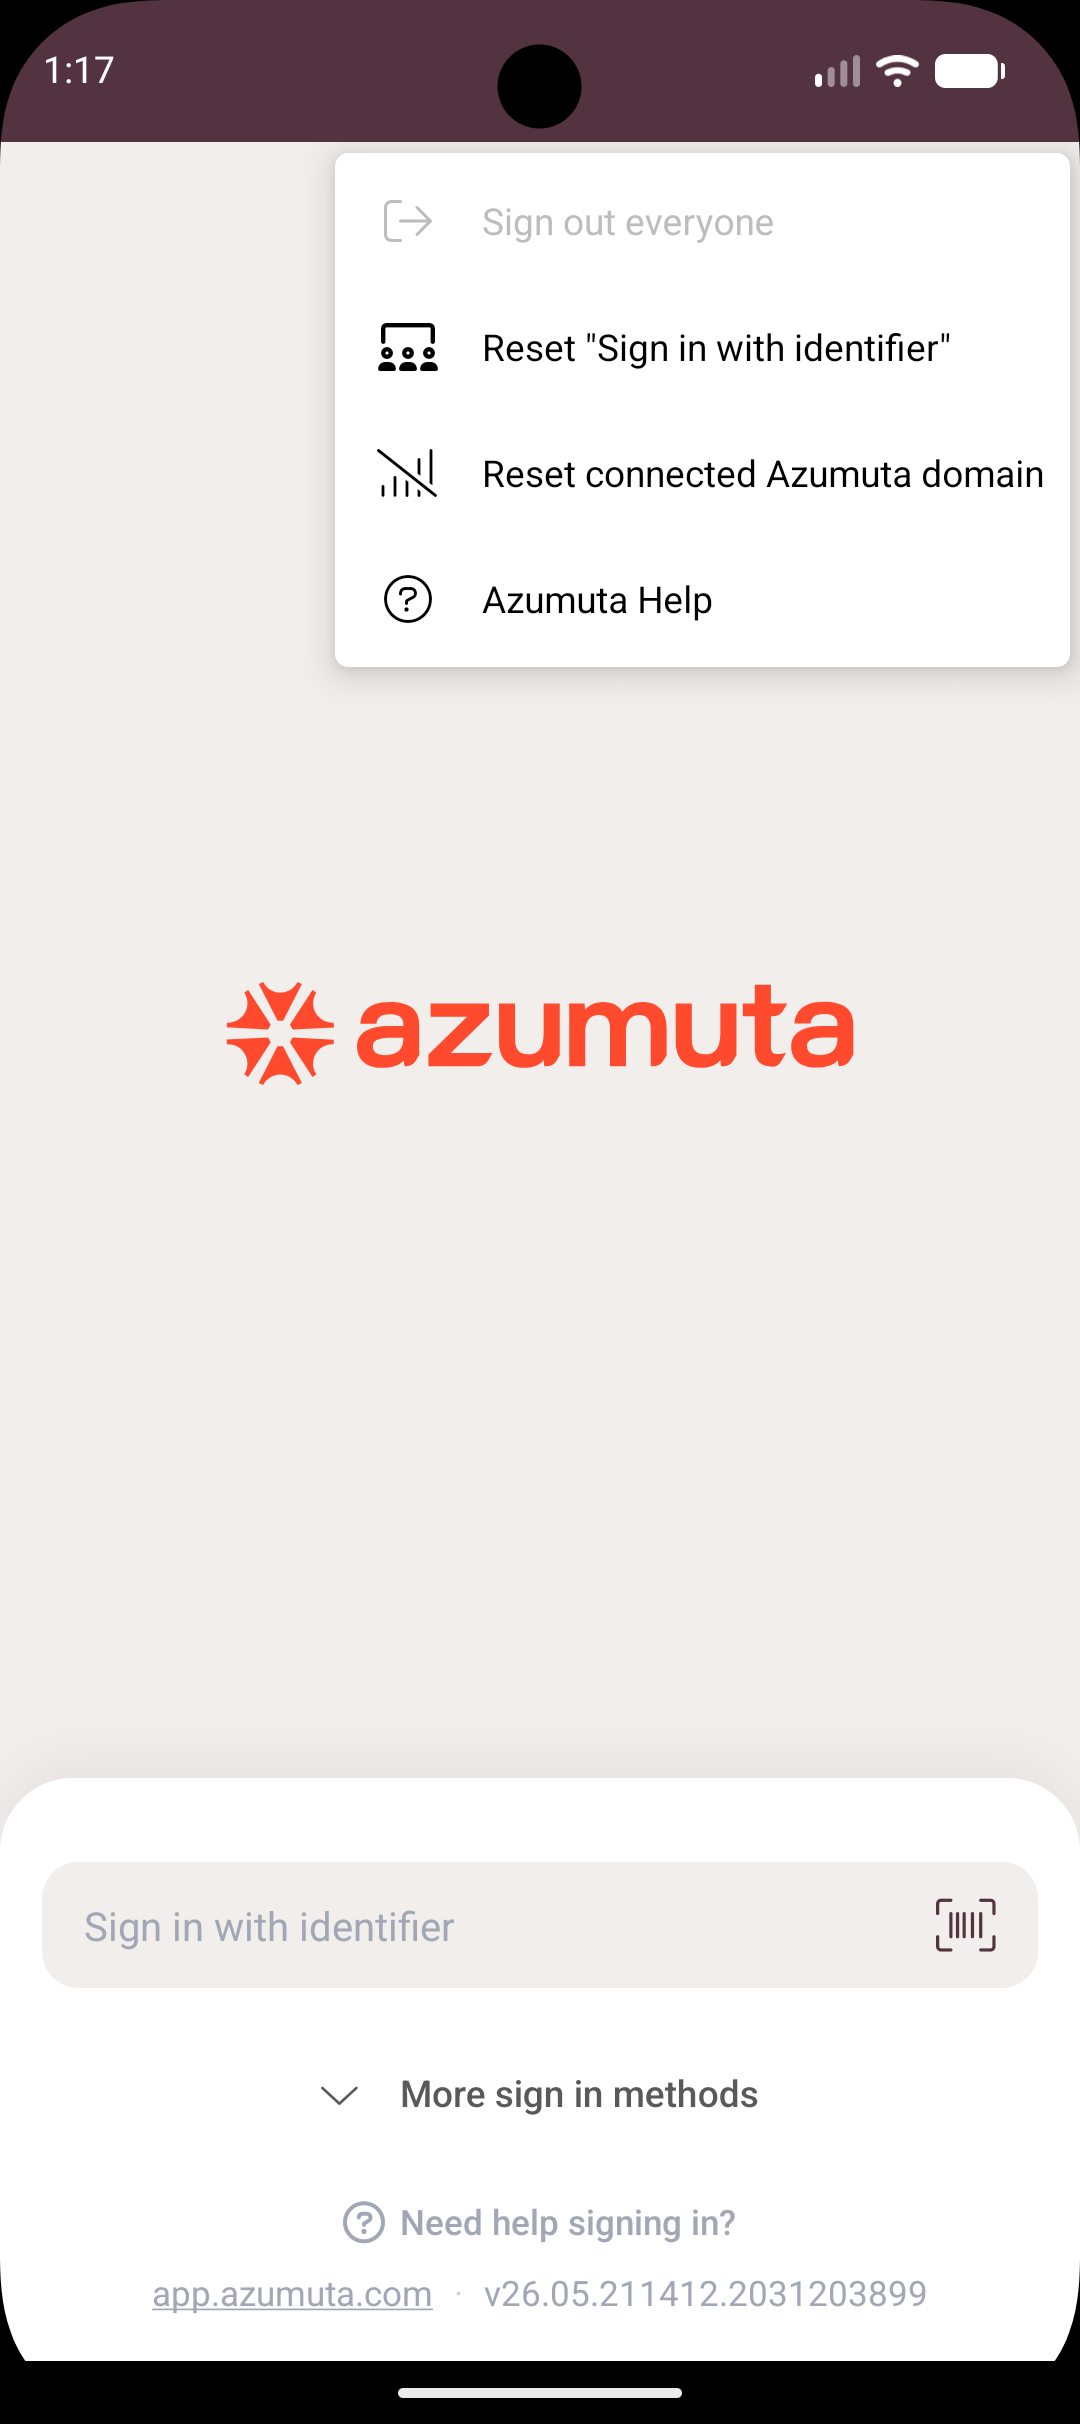
Remove the identifier login option
The operator disables the feature on their device:
- On the device's login screen, click the ⋮ (three-dot) icon in the top right.
- Click Reset "Sign in with identifier", then click OK.