Equipments & Symbols
Promote conformity on your shop floor by informing operators of the necessary equipment that they must use when performing a certain task. Moreover, add symbols (e.g., safety signs) to make your work instructions clearer than ever.
Adding a New Equipment to Your Equipment Library
- Navigate to any work instruction step, and click on “Open”.
- Click on the “Equipment & Symbols” tab.
- Click on “Select equipment”.
- Click on “Add equipment”.
- Enter the description and add a picture. The other fields are optional.
- Confirm by clicking “Add”.
- The new equipment will now appear among the other existing types of equipment in your library.
Adding a Required Equipment to a Work Instruction Step
- Navigate to the work instruction step where you would like to add equipment, and click on “Open.”
- Click on the “Equipment & Symbols “tab.
- Select the required equipment.
- Click on “Submit” to confirm your choice.
This is how it will appear on the operator view:

Adding a New Symbol to Your Symbol Library
- Navigate to any work instruction step, and click on “Open”.
- Click on the “Equipment & Symbols” tab.
- Click on “Select symbol”.
- Click on “Add symbol”.
- Enter the description of the symbol and add a picture. The other fields are optional.
- Confirm by clicking “Add”.
- The new symbol will now appear among the other existing symbols in your library.
Adding a Symbol to a Work Instruction Step
- Navigate to the work instruction step where you would like to add a symbol into, and click on “Open.”
- Click on the “Equipment & Symbols” tab.
- Select the required symbol.
- Click on “Submit” to confirm your choice.
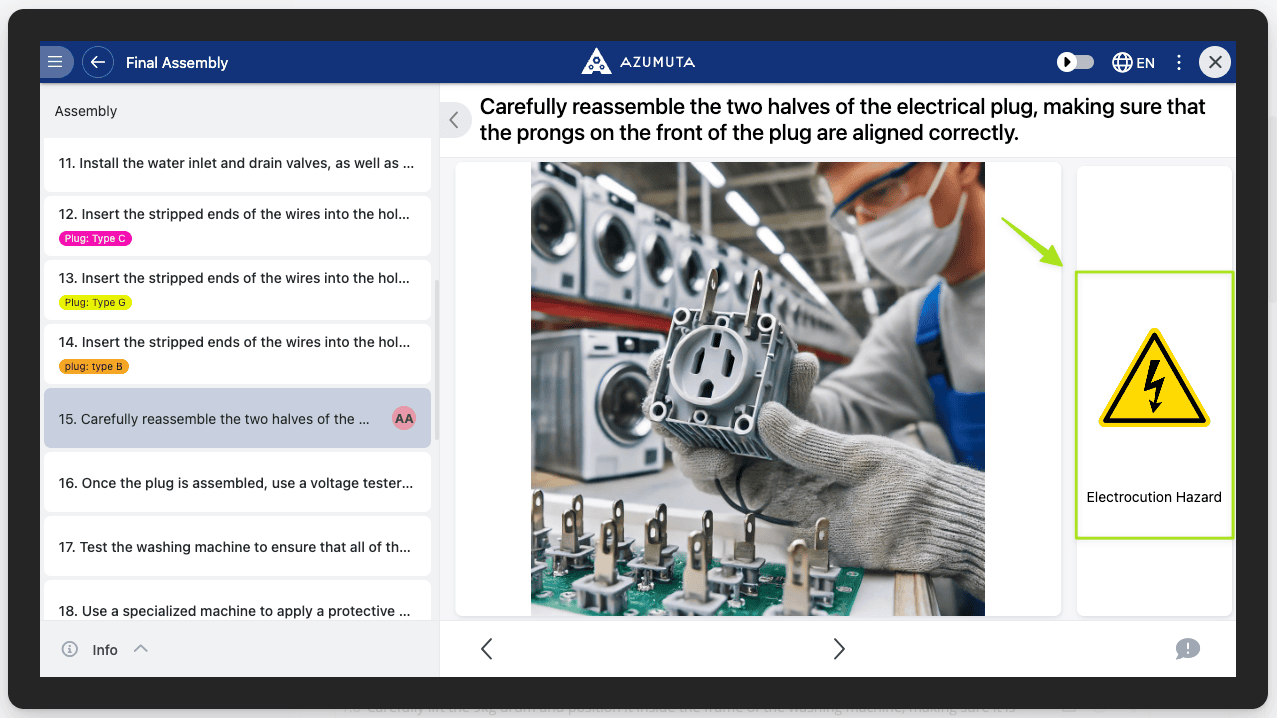
This is how it will look like on the operator view: