
How to Add an Image to a Work Instruction
Within Azumuta you can add (multiple) images to a specific work instruction. Adding images can be done in different ways:
Importing an Image from the Visual Editor
- Navigate to the work instruction step where you would like to add an image to and click on “Open”.
- Click on the “Visuals” tab.
- Click on “Add page” and select “Images”.
- Click on “Image”.
- Upload an image or select an existing image in the image library.
- Click on “insert image”.
- You can also adjust the image size and rotate the image afterward.
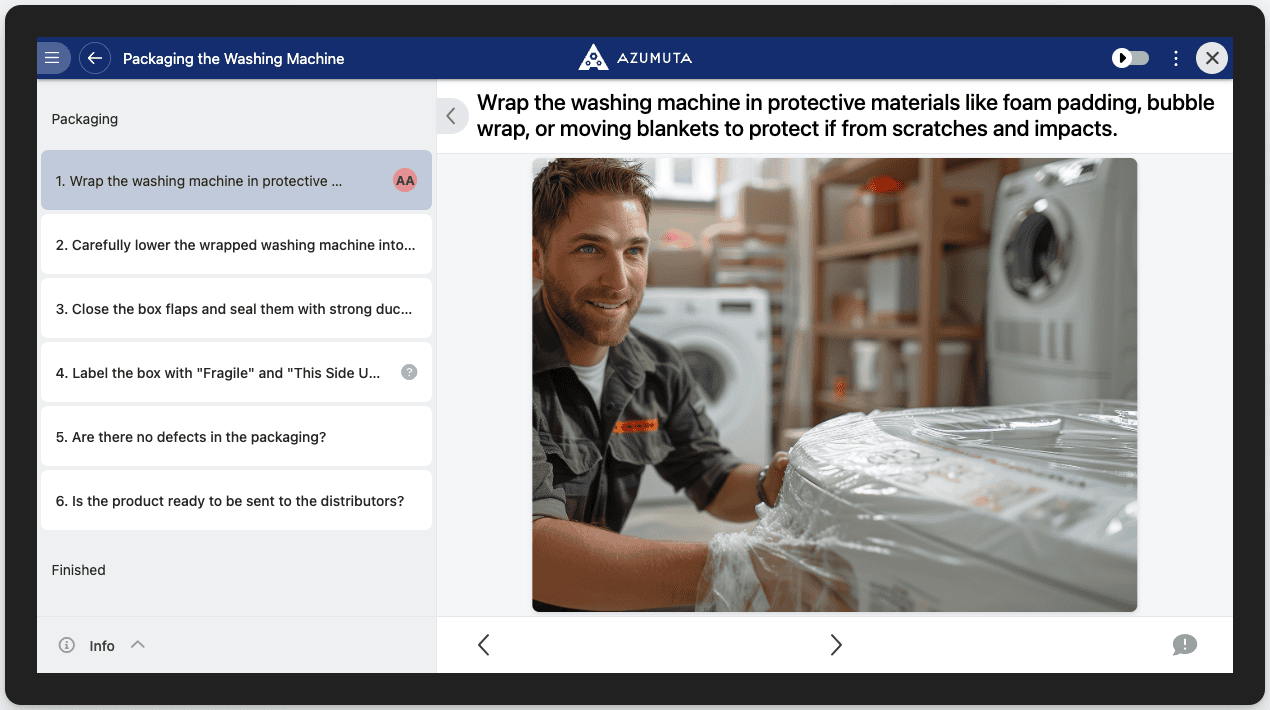
This is how a work instruction step with a single image will appear on the operator’s screen:
Copying and Pasting from the Clipboard
- Navigate to the work instruction step where you would like to add an image to and click on “Open”.
- Click on the “Visuals” tab.
- Click on the image that you would like to copy. Use Ctrl+C (Windows) or Cmd+C (Mac) shortcut to copy the image.
- Go back to the “Visuals” tab.
- Use Ctrl+V (Windows) or Cmd+V (Mac) shortcut to paste the image.
- The dragged image will be saved automatically, so you do not need to confirm anything.
This is how a work instruction step with a single image will appear on the operator’s screen:
Adding Multiple Images
Adding multiple images to a work instruction step can be done in the following way:
- Navigate to the work instruction step where you would like to add an image to and click “Open”.
- Click on the “Visuals” tab.
- Insert the first image.
- Click on “Add page”.
- Click on “Images”.
- Click on “Image” on the visual editor, and insert the second image.
- Repeat steps 4-7 for the next images.
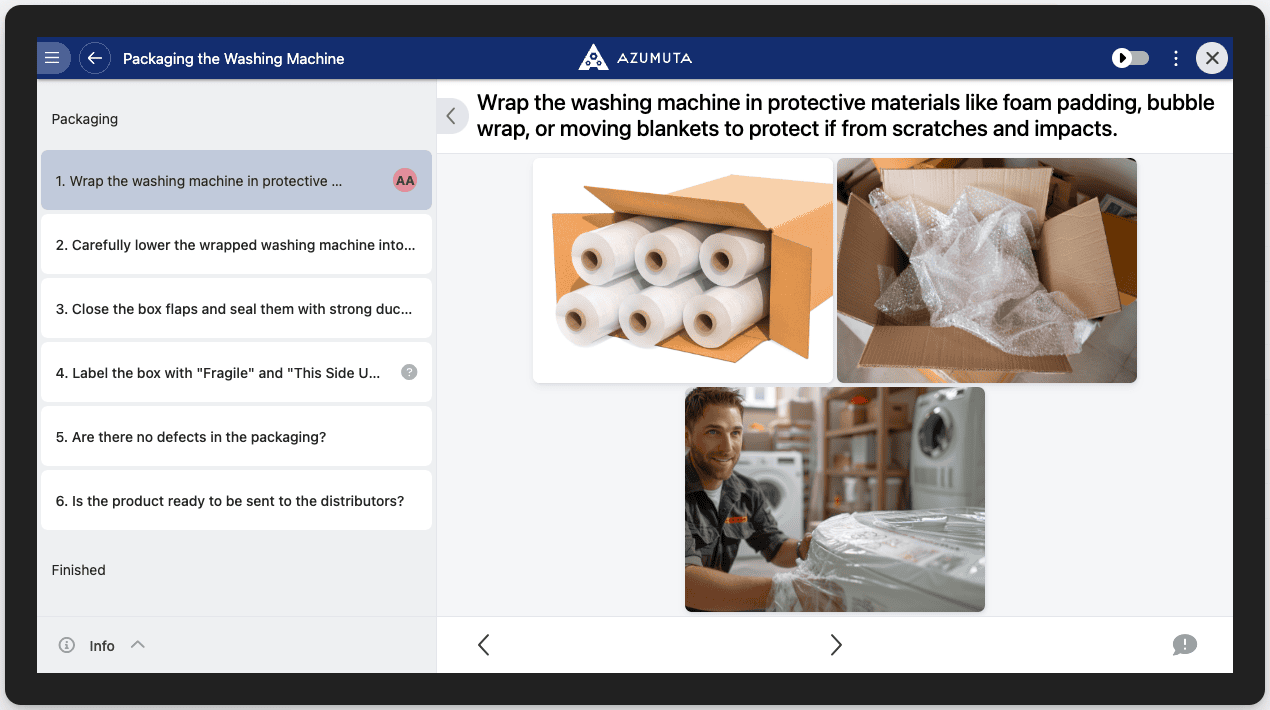
This is how a work instruction step with multiple images will appear on the operator’s screen:
Adding an Image from the App
Within Azumuta you can add (multiple) photos to a given work instruction directly from the app/operator view. Adding photos via the app to a work instruction can be done in the following way:
- Navigate to the work instruction step where you would like to add an image to and click on it.
- Click on “Edit”.
- Click on an already existing instruction step.
- Click the Yellow plus button.
- Select one of the following options: Add image from library (add an existing image from the library of your smartphone or tablet) or Add a photo: Take a photo directly with the camera of your smartphone or tablet. It will then be automatically uploaded into Azumuta.
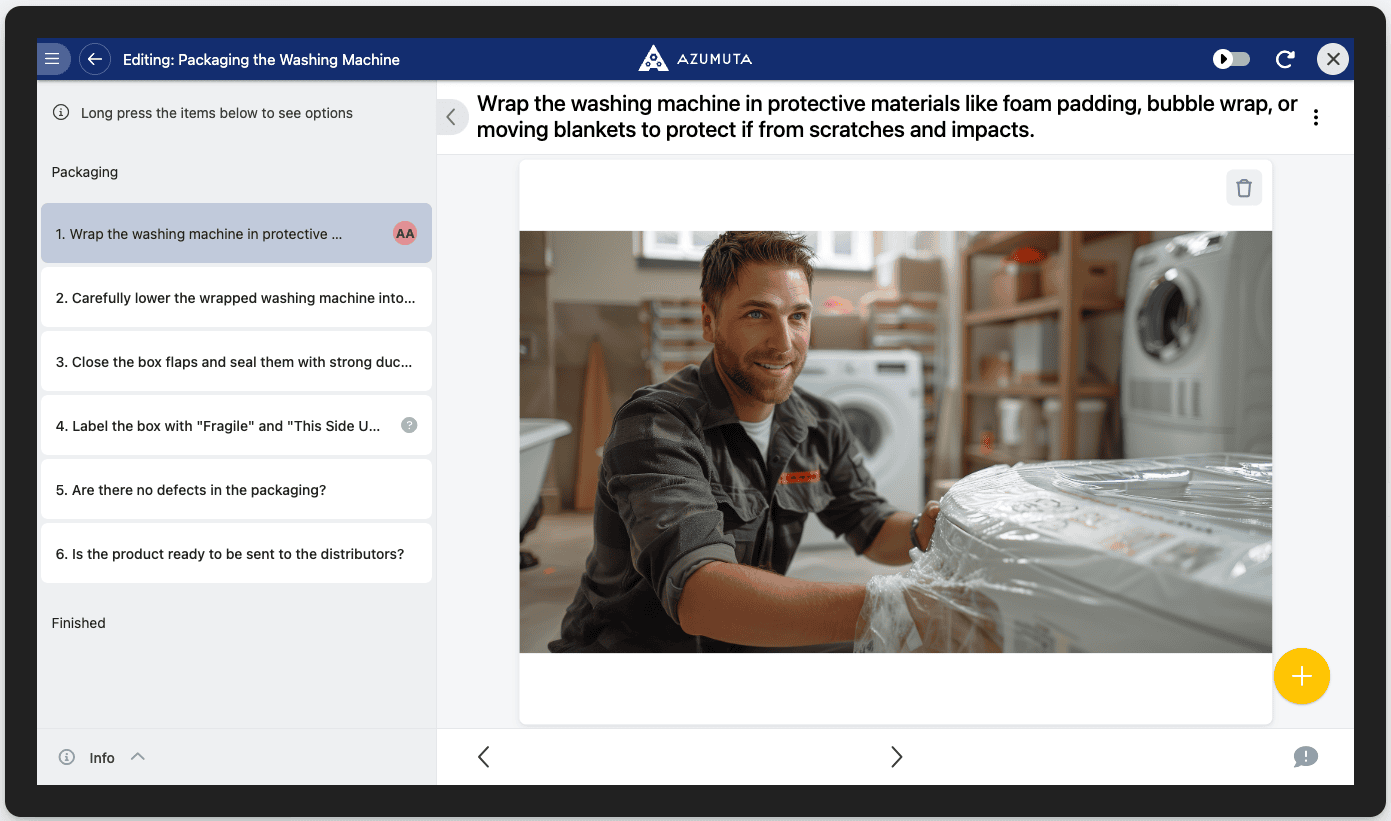
This is how a work instruction step with a single image (added from the app) will appear on the operator’s screen:
Tip: Visual elements such as arrows, circles, text boxes, etc. can only be added by from the Admin's side.