
What Is a User Right?
What Is a User Right?
A user right is the authorization that allows a user to perform a certain action in Azumuta. For example, the right to create a work instruction, the right to schedule audits, the right to view dashboards, etc.
Managing user rights in your workspace is crucial, as it ensures that users can only perform actions relevant to their role. Additionally, it also prevents unwanted data breaches, as users will only see information that is related to their work scope.
Individual Rights and Group Rights
Before we continue further, it’s important to know that there are 2 types of user rights in Azumuta: individual rights and group rights. How do they differ?
An individual right belongs to an individual user – representing an individual employee. Meanwhile, a group right belongs to a user group. See how to manage user groups to learn what a user group is, how to create one, and how to manage it.
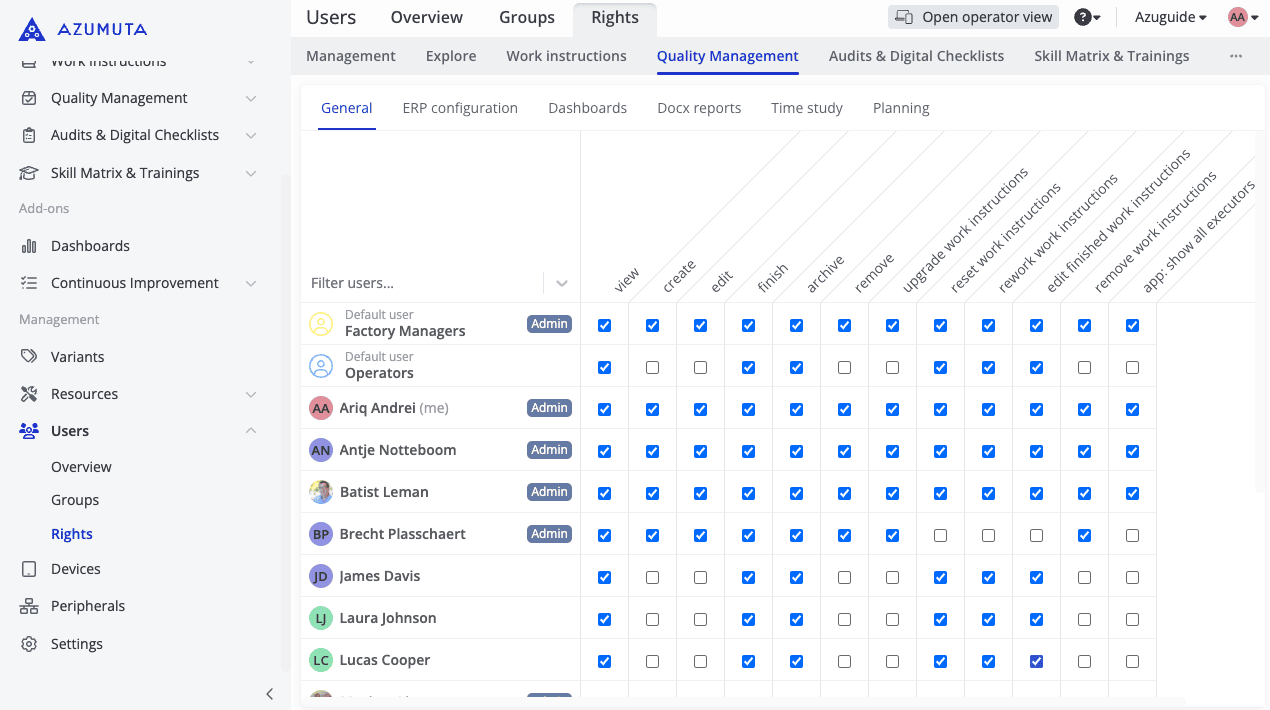
In a user rights table, an individual user is represented by their full name and their profile picture/initials. Meanwhile, a user group is represented by its user group name and an icon that shows a person within a circle. Please take a look at the image below to see which one is which.
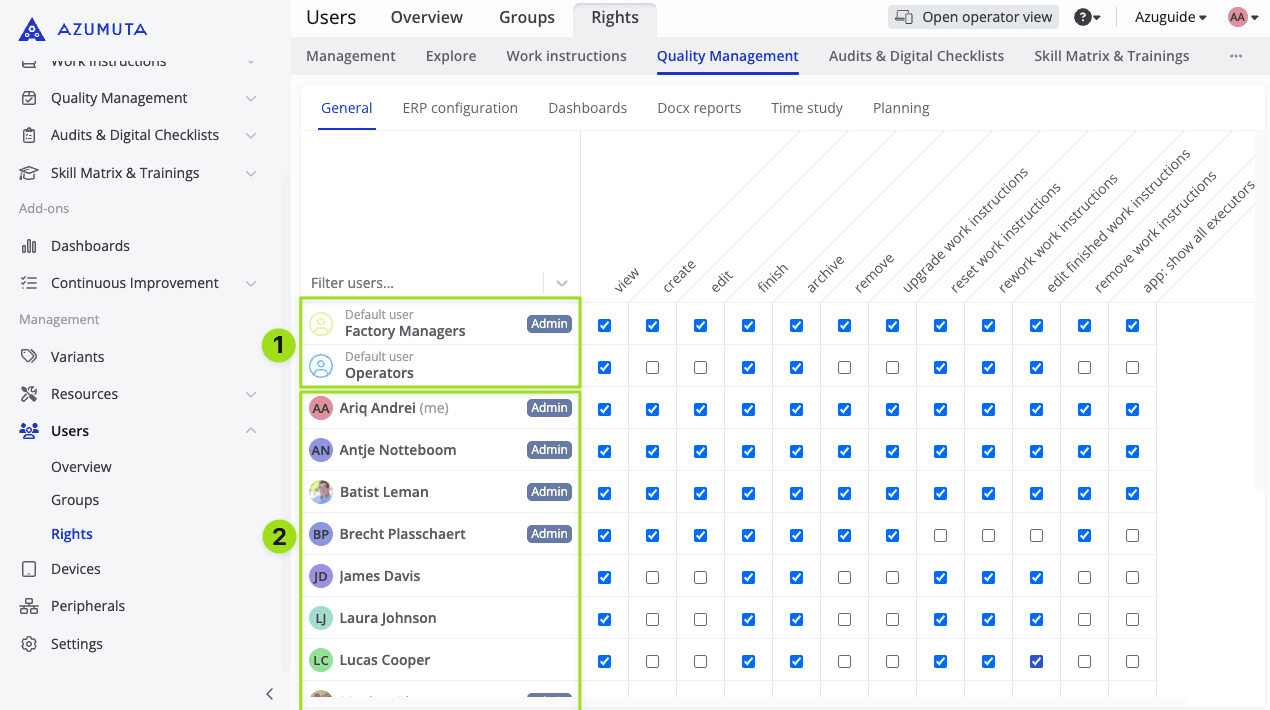
- These are user groups
- These are individual users
Important to remember: When you assign an individual user to a user group for the first time, then that individual user’s rights will automatically sync with the group rights of that user group.
However, when you move an individual user to another user group, then that person’s user rights will not automatically sync to match the new user group’s group rights. Thus, if you’re moving an individual user from user group A to user group B, then you will have to manually configure that individual user’s rights to match user group B’s group rights.
How Do You Configure a User Right?
Configuring a user right only takes a few seconds. First and foremost, you will need to navigate to the correct tabs. Each tab represents a module/add-on/functionality/topic. Please have a look at the explanation in the image below:
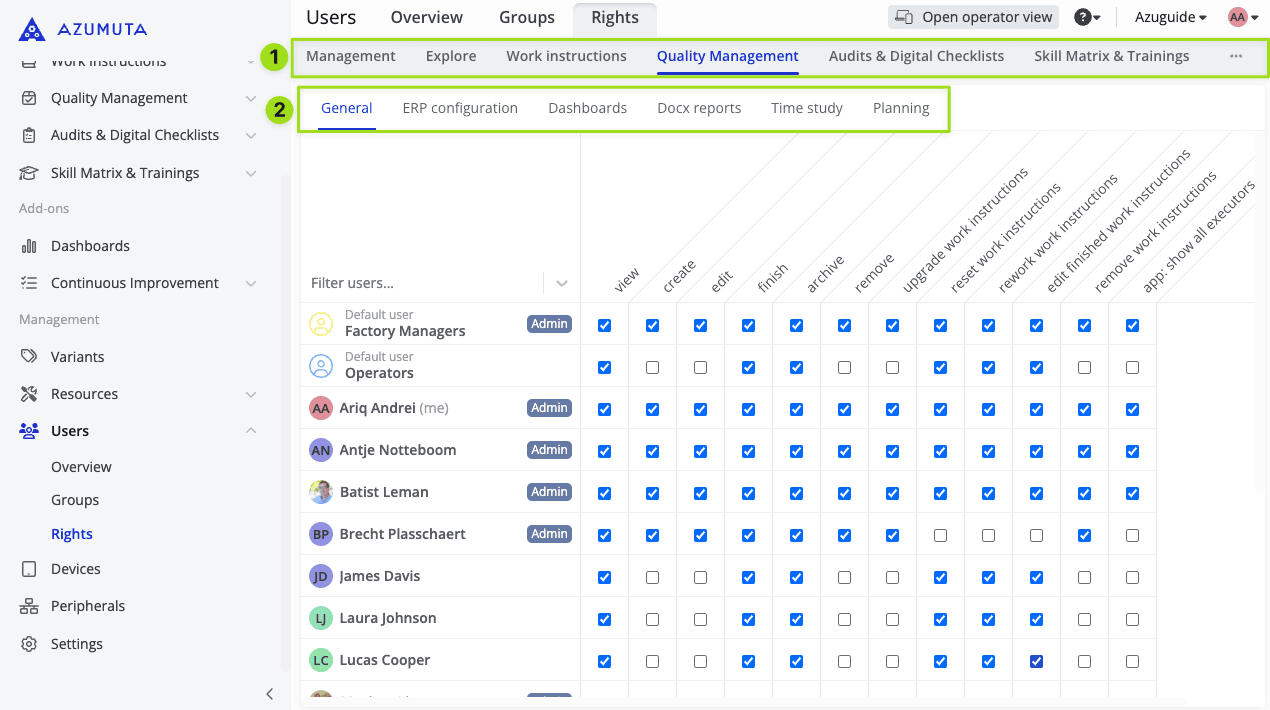
- First, select one of the tabs here. Each tab represents a module/add-on/functionality. You can also click on the three-dot icon next to “Skill Matrix & Training” to see more tabs.
- Afterward, select one of the topic tabs here.
After you’ve done the steps above, you will see a grid on your screen. In Azumuta, we have a grid system, where every user right is represented by a box. To give a right to user, just tick that user right’s box. And conversely, to remove a right from a user, just untick that user right’s box. Take a look at the image below to see an explanation of this grid system:
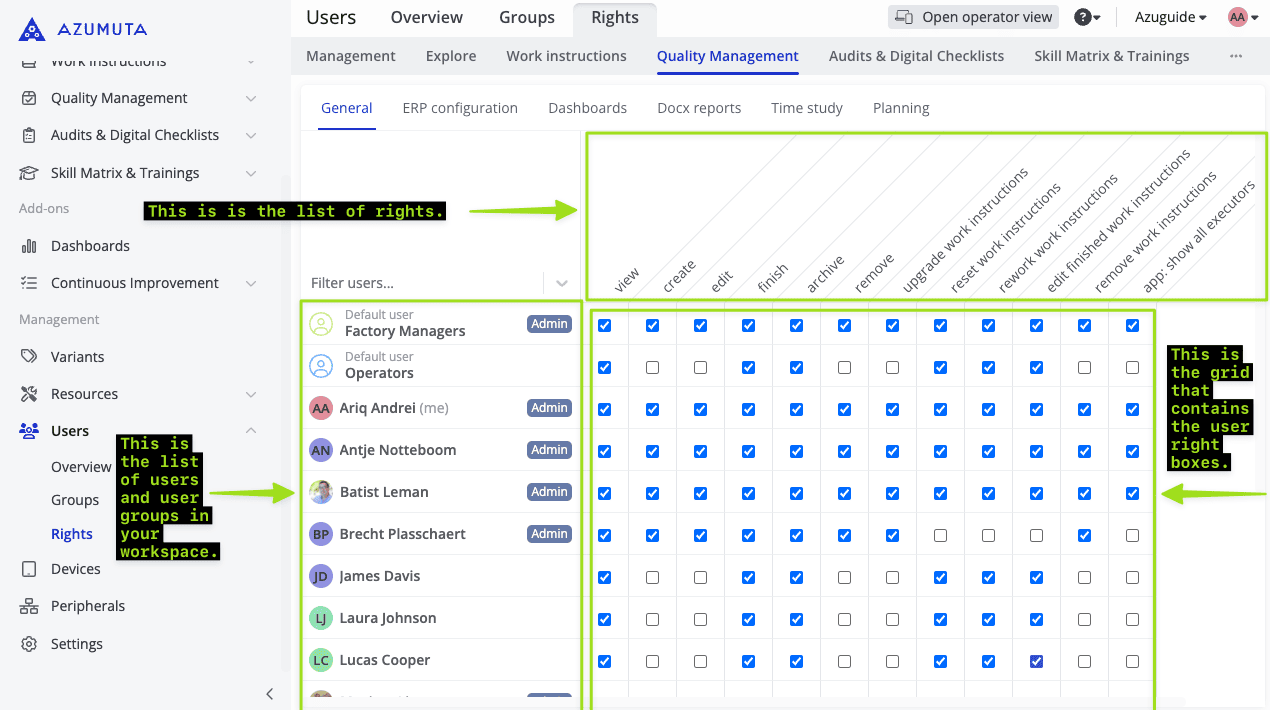
Note: If you hover your cursor over a user right, a pop-up that contains information about that user right will appear on your screen.
And, of course, here’s a step-by-step guide on how you can configure a user right in Azumuta:
- Click on “Users” under “Management”.
- Click on “Rights”.
- Select the targeted tabs.
- To give a right to a user: tick the corresponding box.
- To remove a right from a user: untick the corresponding box.
In the next guide webpages, we will introduce you to the user rights on each tab.