
How to Perform a Torque Check
Note: Before following the steps below, you must first integrate a digital torque wrench into your Azumuta workspace. See how to integrate a digital torque wrench for instructions.
This is how to perform the torque check as an operator:
- Open the hub that you’ve received from Azumuta, and keep it open throughout the entire torque check process. Please contact us through our support@azumuta.com email to get this hub.
- Navigate to the instruction step with the torque check that an admin has prepared.
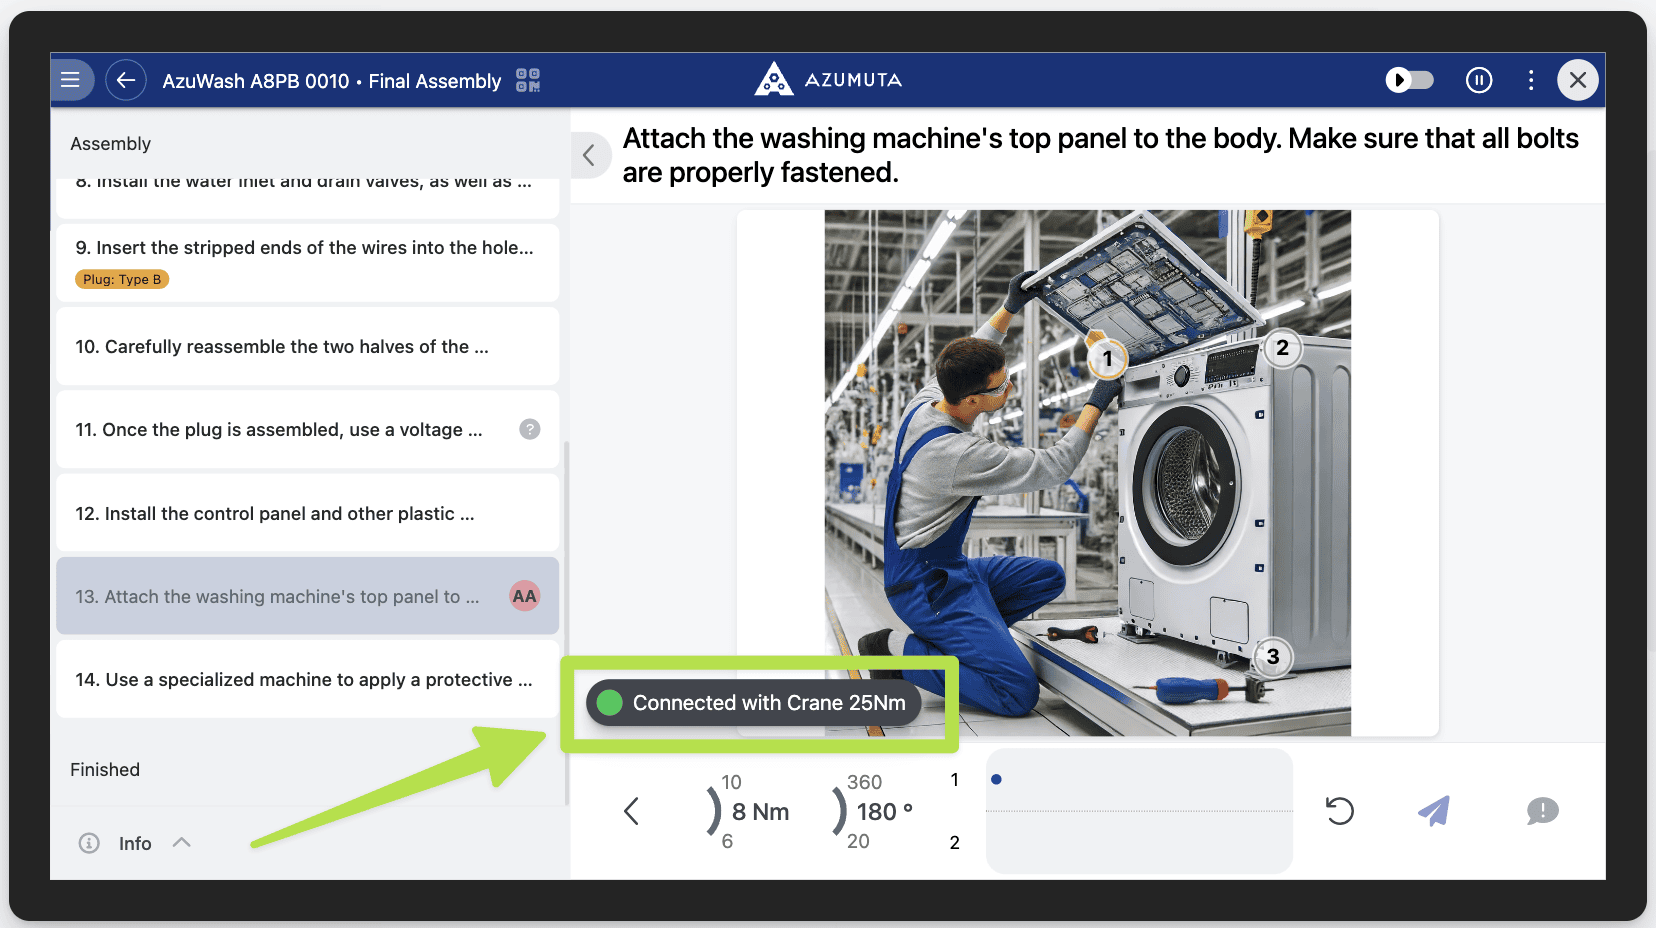
- Ensure there’s an indicator showing that your digital torque wrench is connected to the device displaying the instruction step (as shown in the image below):
- Using your digital torque wrench, apply the required torque to the fastener(s) that have been designated by the admin.
- If you did over-torquing/under-torquing and/or your torque angle was beyond the tolerated limits set by the admin on a tightening, then redo that tightening until it fulfills these standards.
- Once you’ve done all of the tightenings correctly, click on the send button. You will automatically proceed to the next instruction step.
Check out our demonstration video below to see how the torque check works in a real-life setting:
Note: Note: At the moment, you can only do the torque check from a computer (be it a desktop computer or a laptop computer) or a Windows tablet.